Good morning folks!
Today I have an exciting share!
Over at My Artistic Adventures,
Heather decided to try her hand at designing a Calendar Journal Kit!
WOOHOO
I've always wanted to do a journal like this but have yet to do it!
I'm going to be using this one to help me get back into writing a bit.
I used to write more, in my teens & early 20's,
but as usual, life got in the way and I stopped.
So I planned, this year, to start back up again.
So much so that I decided to choose a word for the year and,
yes,
it just happens to be
WRITE!
This journal came at just the right time!
Thanks, Heather!
Enough about all that,
here is how I put this planner together.....
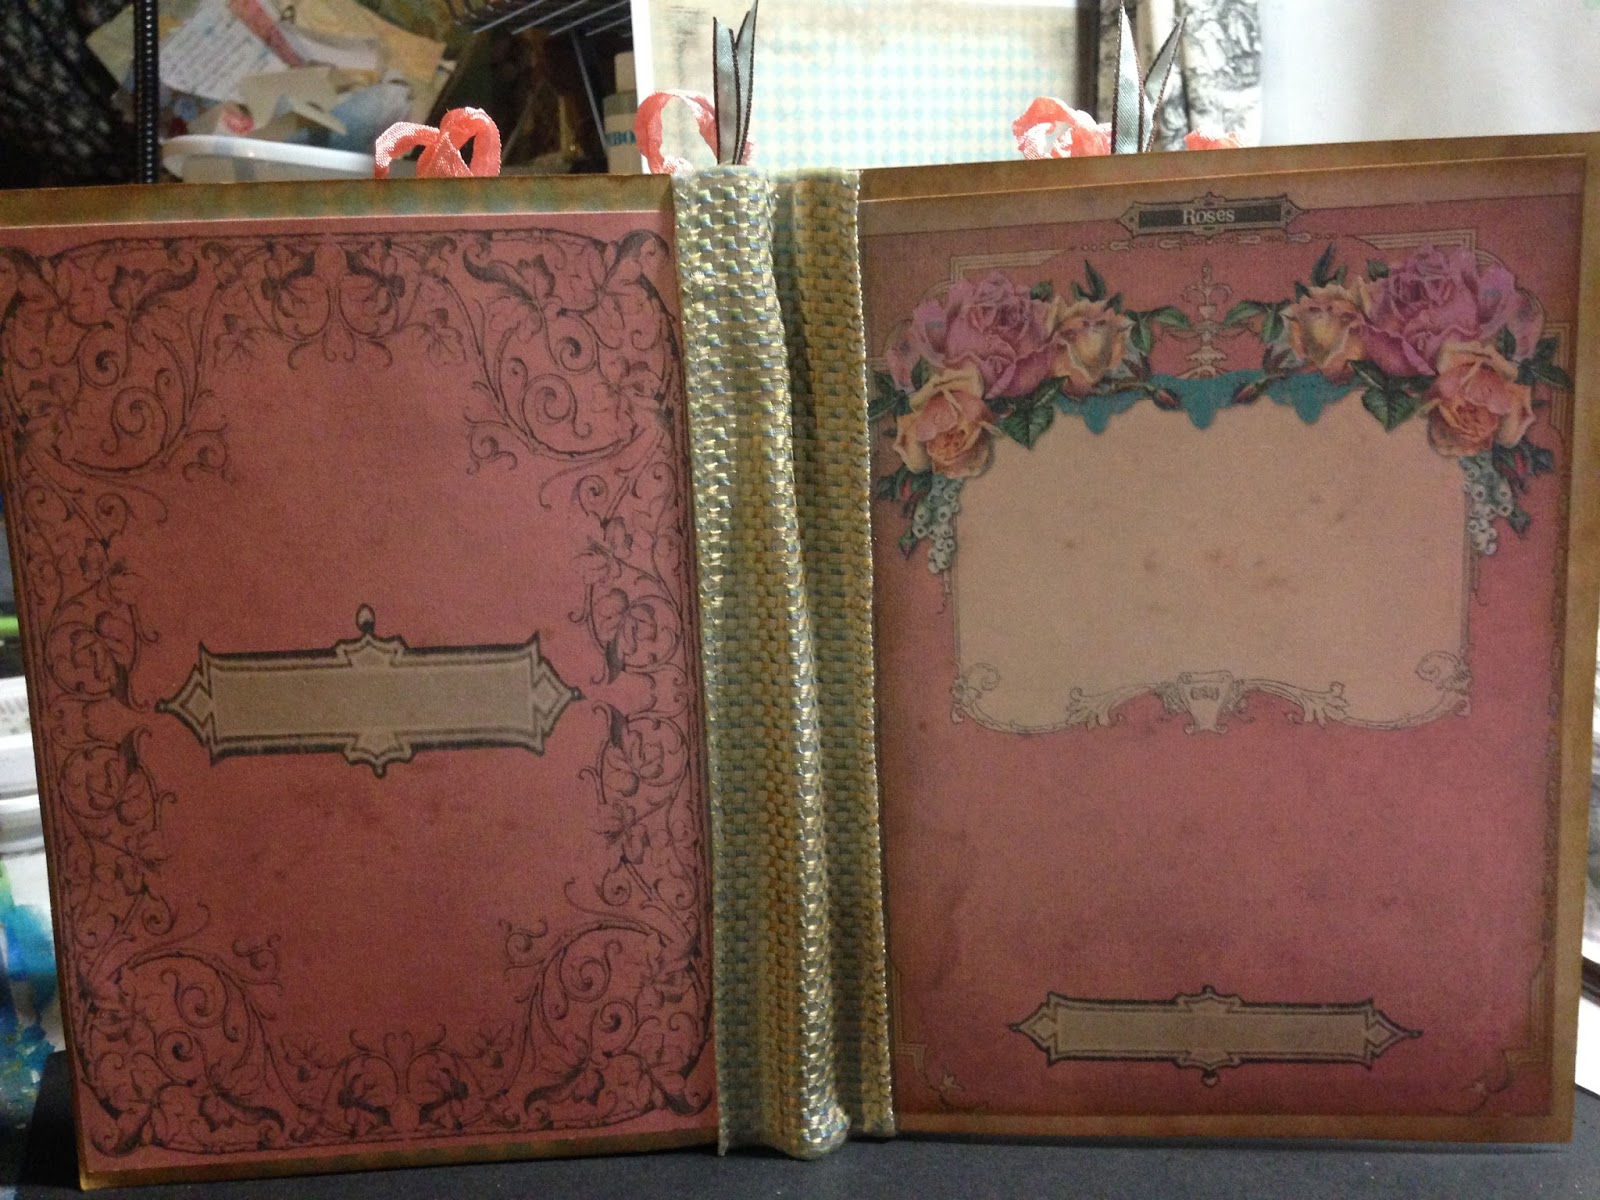
This is probably a weird way to show you the covers but aren't they pretty?
I may have to think about adding a title to the larger space on the front cover.

A couple of shots from the top of the book
I used ribbon for the binding because of the way I put the signatures together,
I wanted the binding to be flexible.
You can see I added a lot of pockets for tags to slide into from the top.

In this kit, there are journaling pages,
calendar pages, month tabs & date boxes to add to the calendars,
tags, ATC's, library pockets,
tab's for the tops of your tags or sides of your pages,
background papers and the front & back cover pages!
Phew...that's a lot!
Here is a shot of the beautiful papers I will be doing all my writing on!
Eeeeee, they're so pretty, I can't wait!

I printed the papers, that I'll be writing on and the calendar pages, on regular copy paper
the rest was printed on cardstock so that it would be sturdier to put together and hold well.
***edit......When I printed these papers I did front & backs and, YAY, they lined up beautifully! ***
Below is a shot of the stitching of my signatures.
(hope you can see it, the thread matches the pages pretty well)

Once I had all my signatures sewed together
(I made 4),
I used score tape to put them all together leaving an opening on the tops to add tags.
Now all did not go smoothly in making this journal!
My printer was being very temperamental!!!
It would print almost full sheets,
half sheets,
almost half sheets!
SIGH!
In my attempts not to waste the failed prints, I did things like make this little pocket below...

and this page below I used a die to cut the edges to make pockets

Below is another die cut pocket thanks to a somewhat failed print.

This page opens for another journaling spot,

and another tag pocket!

Here, below, is one of the calendar pages.
The little heart was die cut out of scraps (failed print)
A heart because that is my anniversary!

I decided to add a tree to Christmas day with a stamp.

There are a lot of tags, large and small
and I love the library pockets!

The little banner bit, below, was die cut from a scrap.

I'm getting some Valentines Day gifts together and had a few of the focals on my desk so I had to add one, or two to my journal!
You can find those Valentine focals HERE

I'm sure I'll do more to this journal,
I may add a closure to the cover and do some more embellishing,
but I couldn't wait to share!
There is more info and photos of this kit over at
My Artistic Adventures blog HERE.
You can also see the video that Heather put together over HERE.
If you would like to grab one of these kits
and I think you should,
you can find them HERE.
Thanks Heather for this wonderful Calendar Journal!
Thanks everyone for stopping by!
No comments:
Post a Comment